Step 1: Gathering your tools
Before you start working on the hairstyle, make sure you have:
- A comb
- Bobby pins
- Hair spray (optional)
Step 2: Combing your hairGently comb out all knots and tangles from your hair. Start with clean hair washed with a mild shampoo like Pantene Pro-V Silky Smooth Care and conditioner.
Step 3: Selecting the hairPick a small section of the hair from the front and pull it towards the back. You can take more or less hair depending on the shape of your face. For oval or long faces, use a wider section. For round or square shapes, take a smaller section.
Step 4: Twisting the sectionTwist and roll the section of hair 2-3 times to hold it in place. Don’t roll too much or else it’ll get too tight and you will be uncomfortable. This gives the puff a proper shape and also holds it in place.
Step 5: Making the puffDon’t let go of the rolled hair yet. Push it outwards if you want a front puff, or towards a side if your plan is to create a side puff hairstyle. The more you push, the higher the puff. Do it slowly so that you know how far you want to go. Pulling back could make it a little messy and you might need to start all over again.
Step 6: Securing the puffUse the bobby pins and clutch clip to secure the puff.
Step 7: Spraying it in placeSkip this step if you plan on leaving your hair loose. Use the holding spray only if you’re combining two hairstyles. You don’t want to mess up the puff while working on that.
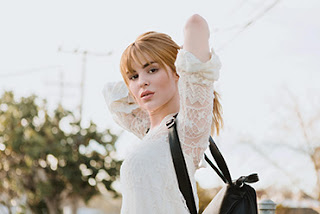
The puff hairstyle is perfect if you’ve had bangs and they’ve grown out a little too much. This is a good way to keep them in check while you decide what to do next.
0 comments:
Post a Comment